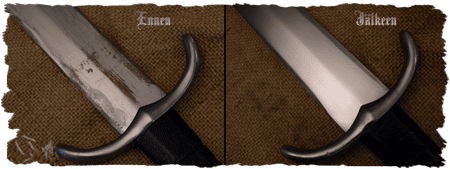
Instructions: Sanding and polishing a blade
Demonstrated below is one method for performing the sanding and polishing in these cases.

1.
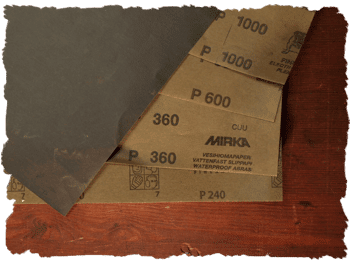
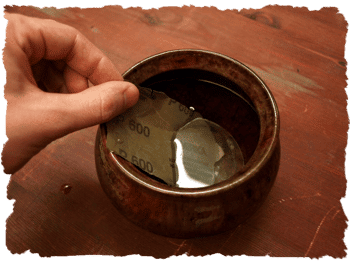
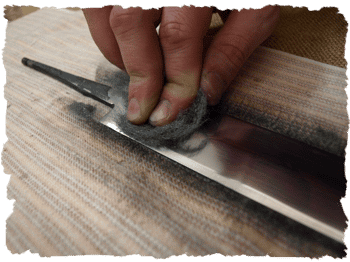
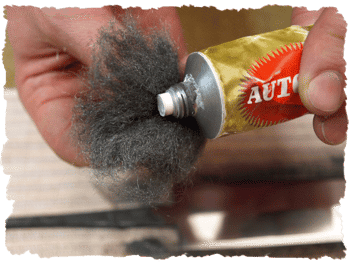
Purchase wet sandpapers from a supermarket or a hardware store in varying grit sizes, for example 360,600 and 1000. If the scratches in the blade to be worked are particularly deep, it can be wise to get one more coarser grit size. How shiny or matte the blade should be after the procedure depends on personal taste. Also get some steel wool and polishing paste. Steel wool in size 000 is sufficient for removal of light rust and polishing the blade, as the scratches it leaves behind are minuscule and easily covered with the polishing paste.
2.
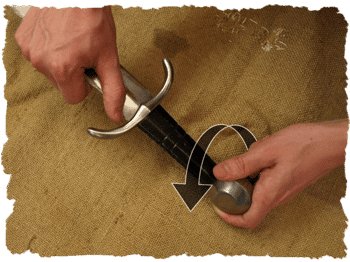
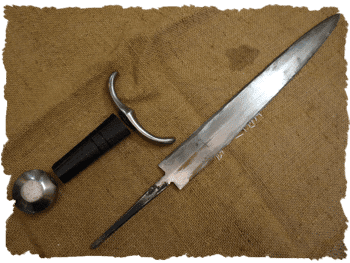
Dismantle the weapon and place it on the covered surface. If the weapon cannot be dismantled, for example due to a peened structure, protect those parts you do not want to accidentally scratch with masking tape or similar. The process will be messy, so it’s wise to use newspapers or a cloth to cover the table.
3.
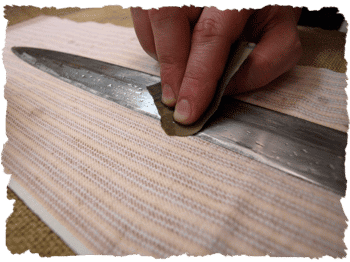
Rip or cut a smaller piece from the wet sandpaper, so that it’s more comfortable to work with. Start with the coarsest sandpaper (e.g. 360). Soak the sandpaper in water and make sure it stays wet throughout the process. Water keeps the paper from clogging and guarantees a good result. The trick is to use even, long strokes along the entire length of the blade. There is no need to use much pressure. If the blade has been sharpened be extremely cautious as the risk to cut your fingertips is great.
4.
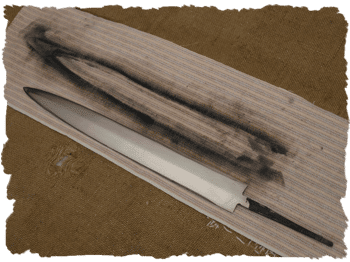
Sand down each section of your blade separately. So if your blade has a middle ridge, sand down the right and the left side independently. If you sand the entire blade at the same time, the ridge will take the brunt of it and you will lose definition. If your blade has a blood groove, cut a small piece of the sandpaper to sand that part separately.
The entire surface needs to be covered in long parallel grooves before you move onto finer papers. All of the rust and scratches that you want removed from the blade need to be gone at this stage. The later stages are simply for removing the signs of this coarsest stage. The more successful you are in covering the surface in grooves which point in the same direction, the better the end result will be.
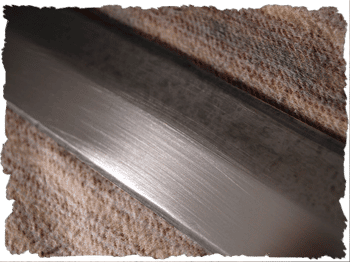
The left side of the blade is now covered with parallel and even grinding marks. Now we can start the same process on the other side of the central ridge.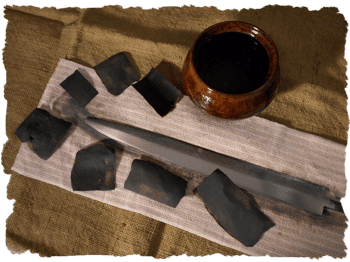
5.
Repeat the entire process with a finer paper (e.g. 600 coarseness). Once the blade is again covered in long, even grooves, move yet again onto finer paper. Remember to keep the sanding strokes long and even, and keep sanding the different sections of the blade separately so as not to lose definition.
6.
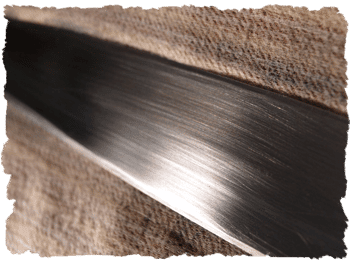
Scratches in the steel can never be removed, but the trick is to cover them with other, smaller scratches. Once you’ve gone through all of the levels of coarseness one by one, you should be left with an even matte blade. Now the scratches are so small that you cannot tell them apart anymore. As the last coarseness level use 000 steel wool, after which the scratches can’t be seen by even the most hawk-eyed observer.
Scratches made by 000 steel wool cannot be seen with the human eye.
7.
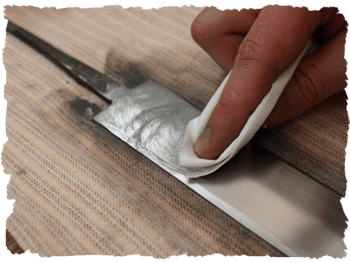
Polishing paste gives you a shiny finished surface. Dab a small amount of the paste onto a piece of cloth and begin polishing. The scratches produced with the paste are so small that the direction of movement no longer matters. The easiest way is to use circular movements. The desired finish is a matter of personal preference, so stop the polishing once you’ve reached the required level of shine. The longer you continue, the shinier the surface becomes. Continued long enough, you can even achieve a mirror shine with polishing paste.
8.
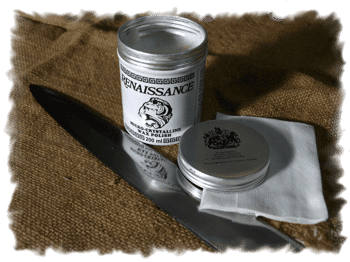
Finish the job with a protective cover of oil or Renaissance wax. The polishing pastes leave a thin protective film on the blade, but a wax or oil layer is always a good choice.
This method is just one of many, and sticking to it rigorously is not necessary. Other sanding and polishing materials will give you the same result, as long as you use common sense. Just remember to use smaller scratches to cover up bigger scratches, and to use intermediary coarseness levels in between, instead of jumping from really coarse to really fine in a single step.